
I know I have been a little MIA lately, but I am thrilled to show you this cute party I styled for a client who requested a beach/pool party for her friend's son a few weeks back.
My client already purchased invitations when she contacted me, so although these weren't used for the party, I went ahead and created some for the shop:


Guests were served hot dogs off the grill and an assortment of sides, like Cheetos "beach balls" and Doritos "shark fins".




Guest left with sand buckets, pool noodles, and lots of other goodies. We dressed up the noodles with some extra water bottle labels.

But, let's face it : the lollipops were the star of the show ;)


My client already purchased invitations when she contacted me, so although these weren't used for the party, I went ahead and created some for the shop:


Guests were served hot dogs off the grill and an assortment of sides, like Cheetos "beach balls" and Doritos "shark fins".


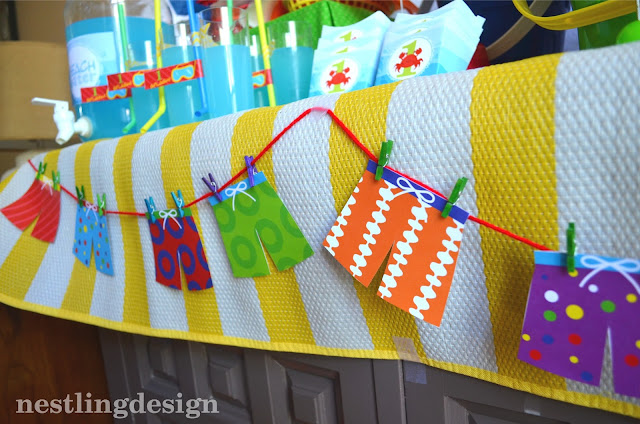
Bent straws taped to the side of cups turned an ordinary drink into a scuba mask and tube.


We lined the hot dog plates with tissue paper and stamped parchment paper. This was such a fun, easy, and free (I already had the stamp) way to dress these up.


The dessert bar was dressed up in the same bright fashion:


We made "Sea glass lollipops" by melting jolly ranchers in the oven and sticking lollipop sticks in them. I love the organic shape they all took on.


Blue jello was given a punch of color with these cute "beach ball" candies I found at the dollar store.


The cupcake wrappers were one of my favorite things in this party package - they look like little sand buckets complete with handle! We blended up graham crackers to create the 'sand' on top of the cupcakes. The shovels were piped using yellow candy melts using the same tutorial I used for the spider webs I created for Halloween.


For added decoration we placed large vases filled with sand on the table. Placing a small sand castle mold in them added a fun and playful look without the mess :)

To really dress up the table and just make it more fun for the kids, I created these accessories to attach to regular paper plates. I love how this turned something inexpensive (the plates) into something custom.


Outside guests were treated with fun games such as water balloon and water gun fights, a sand box, and a small pool.


Outside, the guests were served "grown up" cocktails as well - champagne and popsicles! Such an easy (and yummy!) treat.

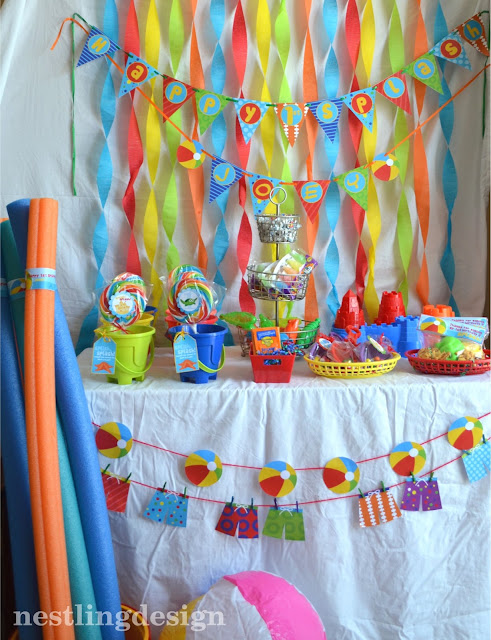
We staged our favor table to match the dessert bar since they were close together. The backdrop was made using colorful tissue streamers twisted up. Such an inexpensive idea, but it totally adds that color that this party needed.

Guest left with sand buckets, pool noodles, and lots of other goodies. We dressed up the noodles with some extra water bottle labels.

But, let's face it : the lollipops were the star of the show ;)


Simple bags filled with shark crackers (also found at the dollar store of all places!) were made a bit more colorful with small sand molds (found in the dollar isle of Joann's):

I have had this valentine idea pinned for almost two years now, and I thought it would make such a cute idea for the gift table:

I had a blast styling this party. How could I not with all these bright colors?! It was definitely the perfect way to start the summer :)
This party package is now available in my shop!
Here is a rundown of where I found all the items:
The sand buckets, shovels, and paper lantern lights were all purchased from Five Below
Pool noddles, Rainbow Lollipops, water guns, and misc. candy was purchased from the Dollar Tree.
Happy Monday, ladies! Hope your summer is going well :)
xo,
Rachel


