Sunday, October 21, 2012

DIY chalkboard animal lables {family room sneak peak}

Happy Monday!
I am so excited to say that we FINALLY finished up the family room this weekend!! We have had it about 99% done for over two weeks now, but really needed to finish up a few projects. (Most of which I will be sharing over the next week or two!)
The project I am sharing today was one of the cheapest and one of my favorites. Not often I can say that, ha! It all started this past summer when we stopped by a local rummage sale. I have mentioned in the past that I tend to have a radar when it comes to good finds, and that day it was on high alert. I was literally on the other side of parking lot, when I spied it. A complete 6' ELFA storage system. (for those who aren't familiar with this, it's a storage system that The Container Store sells- it's completely versatile, but can get pretty pricey. Just one of these baskets alone costs $15- $17. Not including the liner or shell!) I gasped, "is that an elfa?!" (to which Jason, said, "a what?" LOL). I ran over, he bargained, and we got the whole set for $15.
I honestly didn't know where to put it, I had so many ideas. But the family room made the most sense, since the kids have a ton of things that needed to be organized. In the beginning of this little make over, it just sort of floated in the room. It looked horrible. One of the the first things we did was install wood around the sides and the top to make it look more built it, and it completely transformed it. It went from looking cheap and cluttered, to custom and clean.
Just take a look:

...and ahem, pardon the mess. The first pic was mid-organizing :)

The drawers are really large and have been working out great for us. I knew that I wanted to label them somehow, and when I made my chalkboard labels  for our kitchen, the idea came to me to paint some cheap little wooden animals. I loved the idea that it was something kid-ish without being overly cheesy.


First, I bought up a bunch of cheap, little wooden animal cutouts from Joann's. They have other shapes other than animals as well. I wasn't able to find enough flat ones without repeating, so I bought a few of the 3 dimensional ones as well.


I just flipped the 3D ones over so that I had a nice, flat side to paint on.


Next, I sprayed 2 coats of chalkboard paint onto them.


Once they were all dry (sorry-no pictures of this part!), I attached some ribbon I bought from the store as well (couldn't resist a yellow chevron-esq one!) using my hot glue gun to the back of the labels.


Then, I attached them to my drawers by tying them around the bars.


Ta-Da!


The drawers fit SO MUCH stuff. I am really impressed. Part of the organizing process was really going through what we owned and deciding what to keep, donate, or toss. I also gave up the notion that things had to be kept in the boxes they came in- case in point: puzzles.


Our kids just tear the boxes anyway :)

The best part? The elfa is so tall, I can keep the items that I want out of reach of the kids (ie the messy stuff) in the top drawers:


Love, love, love this project :)


Hope you are having a great Monday as well!!

xo,
Rachel


Linking Up...

calm

Tuesday, October 16, 2012

Halloween Entry

Hello!
 
We went on a fantastic little, last minute trip to St. Louis this weekend, and I am only just now getting back into our groove :)
 
Although we moved into a house this past year that is tremendously better than our last, the one thing I can say it is lacking, is a fireplace. All over the blogosphere I am seeing these amazing mantels...what's a girl to do? Decorate her entry table of course!
 
This year, simple has seem to be my motto, and I am excited to share with you how I decorated our entry using items we already owned!


The banner is something I just printed from my computer and cut out.


The skulls, moss, and rat are all from the dollar store (!).

 
I love how at the right angle in our mirror you can see the vinyl bats we have in our front window:


Happy Haunting!
 
 
xo,
Rachel


Wednesday, October 10, 2012

Fall Centerpiece

Hello :)
 
Today I wanted to share with you our {incredibly} simple centerpiece for fall.
 
The other day Jason came home from work with an arm full of mums and mini pumpkins and gourds... I don't think I could have been anymore happier if he brought home roses!
 
The mums went outside, but with the other things I instantly knew I wanted to create an easy, no fuss center piece.


The vase is from Ikea and the vinyl bat image is part of a collection I bought a few years back from Martha Stewart.
 
It looks lovely on our table, and it brings such a simple addition to the fall/Halloween atmosphere around here.
 
Hope your week is going great!
 
 
xo,
Rachel


Monday, October 8, 2012

Goodwill Find :: Halloween Frightening Tree

Hello!
 
I had so much fun with our operation "Haunted Playhouse"  that I wanted to show you how one of the pieces came to be.
 
About two years ago, we were walking around {go figure} our local Goodwill. This was about a month or so before Halloween, so it may explain my train of thought.
 
Here's the thing. You should know something about me: when it comes to thrift stores, flea markets, garage sales, etc I have some kind of spidey sense that allows me to spot something amazing (and often tucked out of view) from an incredible distance. Case in point: a large plastic bag, filled with pieces of (what looked liked) a white, plastic tree. It is times like these that I run  speedwalk to the object in sight, holding it up once I reach it, like a victorious discoverer. It is often then, that Jason looks at me clueless and asks, "what is that for?".
 
Um, duh, it's clearly going to be an amazing Halloween tree. Sheesh.
 
 And for under $4, it was ours ;)
 
I wish I had taken a before pic for you. This was before bloggy-land ever entered my mind and I was simply just a girl crafting it up one project at a time :). I honestly never knew what the heck this was supposed to be. (I mean, besides an awesome looking haunted tree!) Then, this year when I took out all the pieces from the bag to put together, I noticed it came with directions. (Ha! Who knew!) And guess what: it was a bush meant for Hanukkah!
 
I found an image on Google that shows what this baby looked like originally:
 
 
A few coats of black spray paint, and it turned into this (yes, probably the opposite of what it was intended for!):


I seriously L.O.V.E this tree. Don't be surprised if you see it again somewhere else in our house because I brought it back inside!


xo,
Rachel


Sunday, October 7, 2012

DIY Haunted {play} House

I hope everyone had a wonderful weekend! {and yay for you who get today off as well!}.
 
We finally got around to putting up our Halloween decorations. I usually like to get them up early in the month so that I have the maximum time to enjoy them....we are running a little slow this year :)
 
The first project we tackled is actually a first for us. The kids have had this cute, little, wooden playhouse in the back for about 3yrs now (as you can tell in the photos!). Something clicked this past week, and I thought "wouldn't it be neat if we let the kids decorate their own house by picking up stuff from the dollar store?". Well. We got to the dollar store with every intent of allowing each child to choose 2 items (stating several times that candy did not count as decoration!). And they did really well sticking to those guidelines.
 
Um, me....not so much. Everything just seemed so perfect for a little house!
 
Here is what their playhouse looked like before:
 
 
And then after a few little dollar store finds (and one amazing tree we already owned), we had ourselves a little haunted house!


Isn't this doorknob awesome??! Pic #1 for Jay.


The black gauze fabric was Jay's second pic...made some great curtains!

 
Spiderwebs: Cayden's first pic, and always a good idea!


The lantern was Cayden's second choice...makes for the perfect indoor light :)

 
The cardboard "wood boards" were inspired by a pin found here.


Safe to say, the kids loved the entire project :)
 
Happy Monday!
 
xo,
Rachel


Happy Weekend!

Peeks of our weekend:
 
 
Decided to make the boring sandwiches-after-the-soccer-game routine a little more fun :) The colors are their teams colors.

 
Some fall cupcakes to thank Jason's coworkers for donating to Jameson's fundraiser.

 
...and of course, the kids got to decorate some for themselves as well! I introduced the kiddos to the world of DIY cupcake toppers. ha!
 
Happy Weekend!!!
 
xo,
Rachel


Wednesday, October 3, 2012

New to the Shop :: Halloween Party

Hello!
 
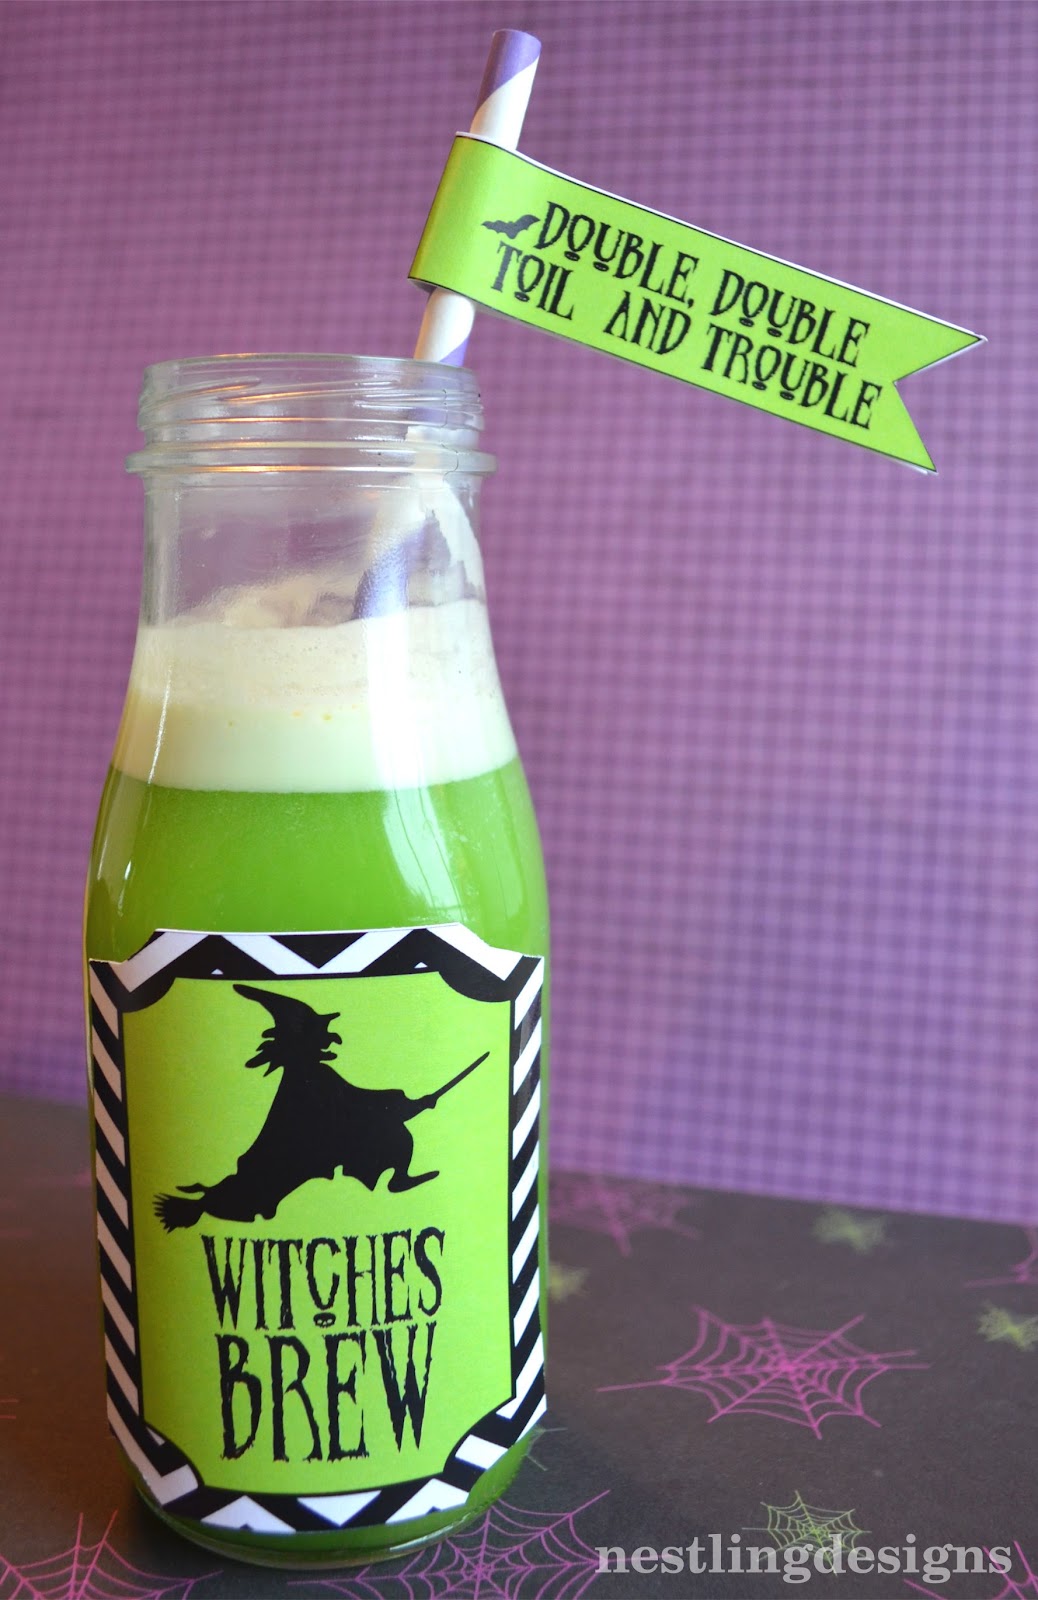
You many remember awhile back, I told you how I found a little inspiration in an unexpected place. Although I think we have decided to nix the Halloween party for this year {can we all just have a moment of silence for the party that will never be?!?}, I still went ahead and created the party for my ETSY shop, and I am so excited to show you how it turned out!


You can purchase the invitations HERE and the entire party package HERE.


I am thrilled with how it turned out. A few pieces (like the prints that read "Double Double, Toil and Trouble") will definitely be finding a home in our Halloween decorations this year. (God willing, said decorations will actually make their way out of their plastic containers this week!)
 
I don't know about you, but I am officially ready for Halloween :)
 
 
Happy Wednesday!
 
xo,
Rachel