

Today I am super excited to show you our little DIY banquette. You may remember me showing a rather ugly table awhile back that we had bought as a set at Goodwill for less than $30. We already owned a great, large, solid wood dining table that I LOVED. The problem? In our new house, this beauty just took up way to much space, and it's rectangular shape did not help it fit in our kitchenette area (we do have a small room that in theory is our "dining room", but it's fully carpeted, something that does me no good with three kids, and kind of disconnected to the kitchen). As you may remember, I did a post on banquette dreaming. I just KNEW that a banquette would be perfect for this space, especially since we are a very casual family to begin with.
I knew that we wanted a round, pedestal based table. The reason I insisted on the pedestal base was it would fit more chairs without being crowded. We found a few, but most were expensive considering the amount of work I would have to put into it.
We finally settled on this little number:

I loved the curves on the base, but hated the fact that it was brown and (eek) a laminate top. But money talks, and this baby came home with us.
I also found a bench that I thought would be perfect for our banquette here. The problem was, after living with it for a few weeks, Jason and I both agreed on two things: It would need additional support if we were to use it daily(our kids jump on things,etc). We really didn't want to do this because it would take away from the detail that we loved on the bottom. Also, I wanted the bench to be comfortable, and that meant we really wanted a back. So we ditched the bench idea (don't worry-I already have a new home in mind for it!). Instead, I used an idea I have seen floating around the web. By attaching several chairs together and creating one fluid seat, you can make a "bench". I never really liked this before, because it always looked (to me) so obvious that they were separate chairs. However, after pushing our chairs together, I realized their backs all met to look kind of like one solid piece.
Hmmm.
So I convinced Jason to jump on board, and we came up with our game plan.
First, we primed and painted the seats for the bench. We screwed the chairs together behind the front legs, where they connect. Jason cut down two pieces of plywood for the bench seat and we added our foam and fabric and reupholstered them. Already a ton better!!

One: This close up gives you a good idea of the fabric we used for the seat. I really, really wanted to use the ikat fabric you see in the photo instead. However, I kept coming back to this chevron/zigzag one because a) it looked great with the bird print fabric already had and b) I could actually picture my kids eating pasta on it and me not having a heart attack. I honestly stood in Joann's for a hour debating this like a crazy person! Finally, the piece of mind this fabric gave me won, and I used the ikat as an accent.
Two: the bench is screwed together now, and as you can tell still looks like some chairs put together. Blah. So we decided to add black fabric that we already had lying around to the base. I chose to adhere it with Velcro- the kind you stick on one side (the bench) and sew on the other (our fabric), so that I could always take it off and wash it. We also debated about creating a wooden front of some kind....and we still might in the future :) but for now, I missed my dining table that had been MIA for three weeks while we did this project and wanted to just move forward quickly. Also, by adding the fabric, we can now store things underneath if we wanted to.
Three: I made pillow covers for cheap pillow forms that we already had (if it doesn't creep you out, a thrift store is a great place to find "pillow forms" ---just browse their pillow isle and find one that is the size you need! super cheap). Another way to skim costs is to use the expensive fabric only on the front (like I did for the bird fabric) and a cheaper neutral in the back. I thought about it after I did it, and the only bad thing about this is that if the kids spill anything on them, I can't just turn them around :) You can also see how, with our chairs, the backs meet up perfectly.
Next, we primed and painted and waited and waited for our dining room table to dry. We used a Benjamin Moore paint, in a dark gray, and it came out beautiful.

Look at the shine! And we only used semi gloss. The ugly chairs that came with the table we painted in a color dip method, which you can see here.
I got a beautiful chevron rug at HomeGoods

Ready to see everything put together??


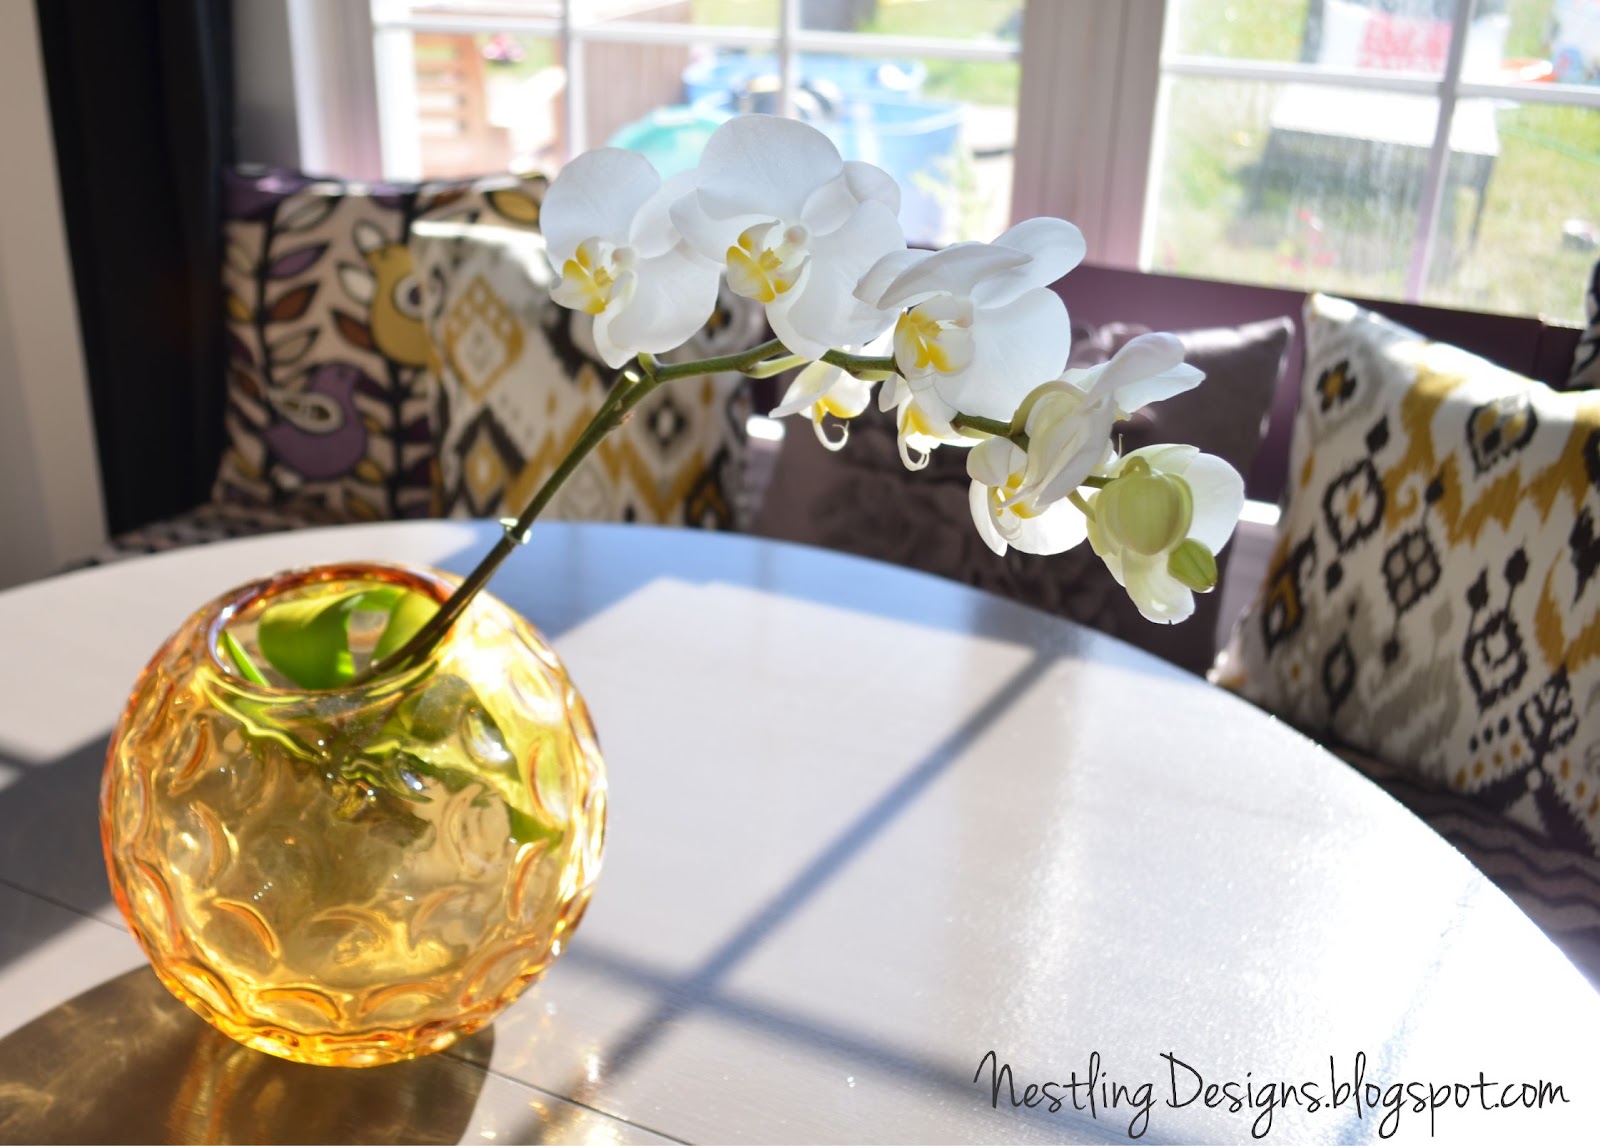


The print on the right, was a great find on one of our Goodwill trips for $1. I love how the colors go perfectly with our room.


We love this area! It's perfect for our space.
Here's a little reminder of the journey this baby went on:

what do you think??
xo,
Rachel
Linking Up.....

Linking Up.....


