This time last year, I was getting over being sick. One particularly miserable day when I was feeling a bit overwhelmed with getting everything ready for the holidays, I had a {brilliant} thought.
We need to have a Grinchmas party.
.....Because every sane person decides to add a whole list of things to do when they are already overwhelmed :)
Honestly, looking back at these photos, I don't know how I got so much done in such a short time, especially since everything was handmade. Shows you how a woman can get anything done even when they are sick, ha!


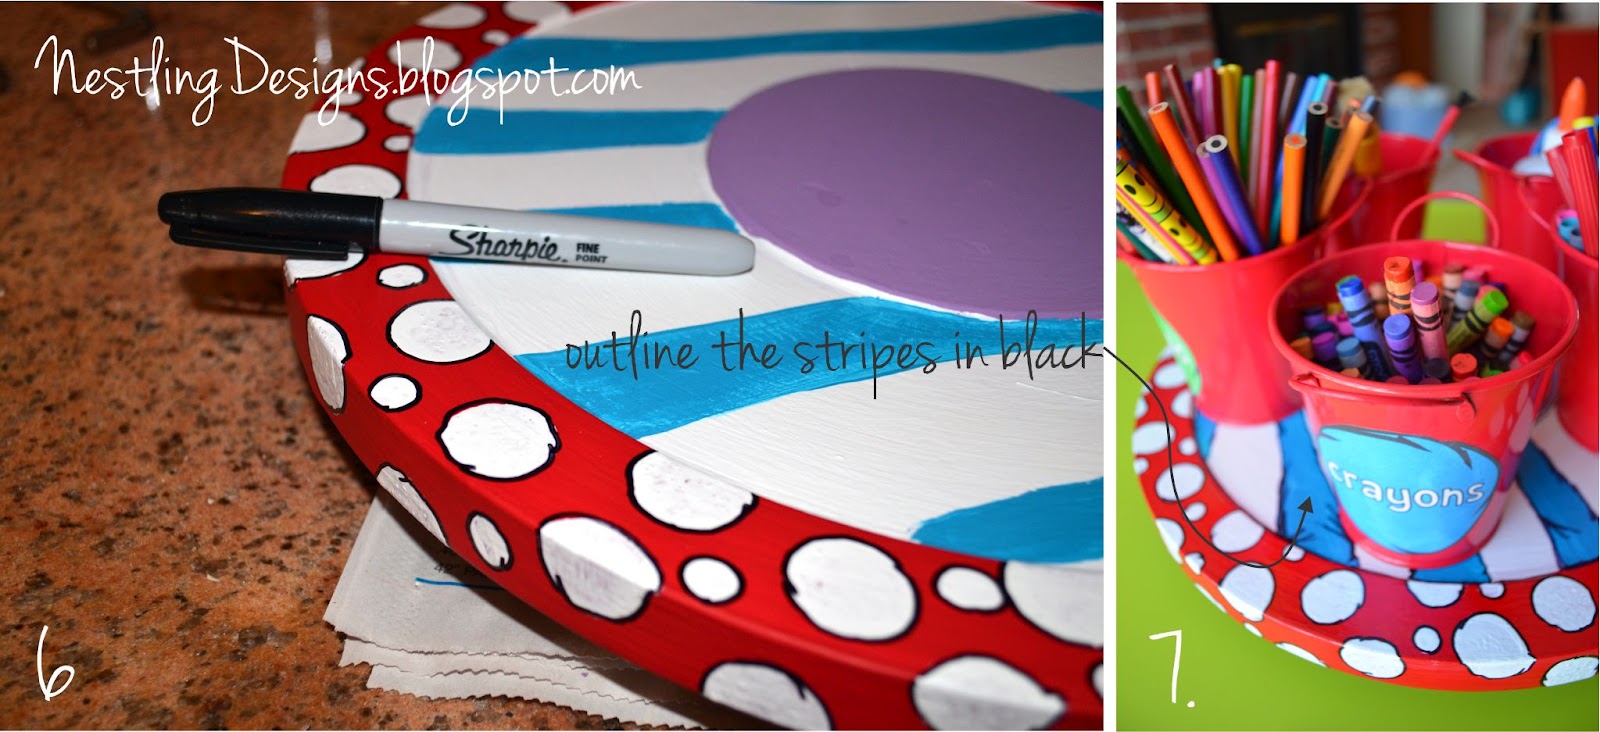
I made the wreath by cutting foam board into a circle and glueing a bright green boa I found at the craft store. Some red pom poms completed the look. The banner was made with scrap red fabric. I printed the letters from my computer and traced them onto white fabric. I then cut those out and glued them onto the banner. Amazingly, the entire banner is still intact this year :)


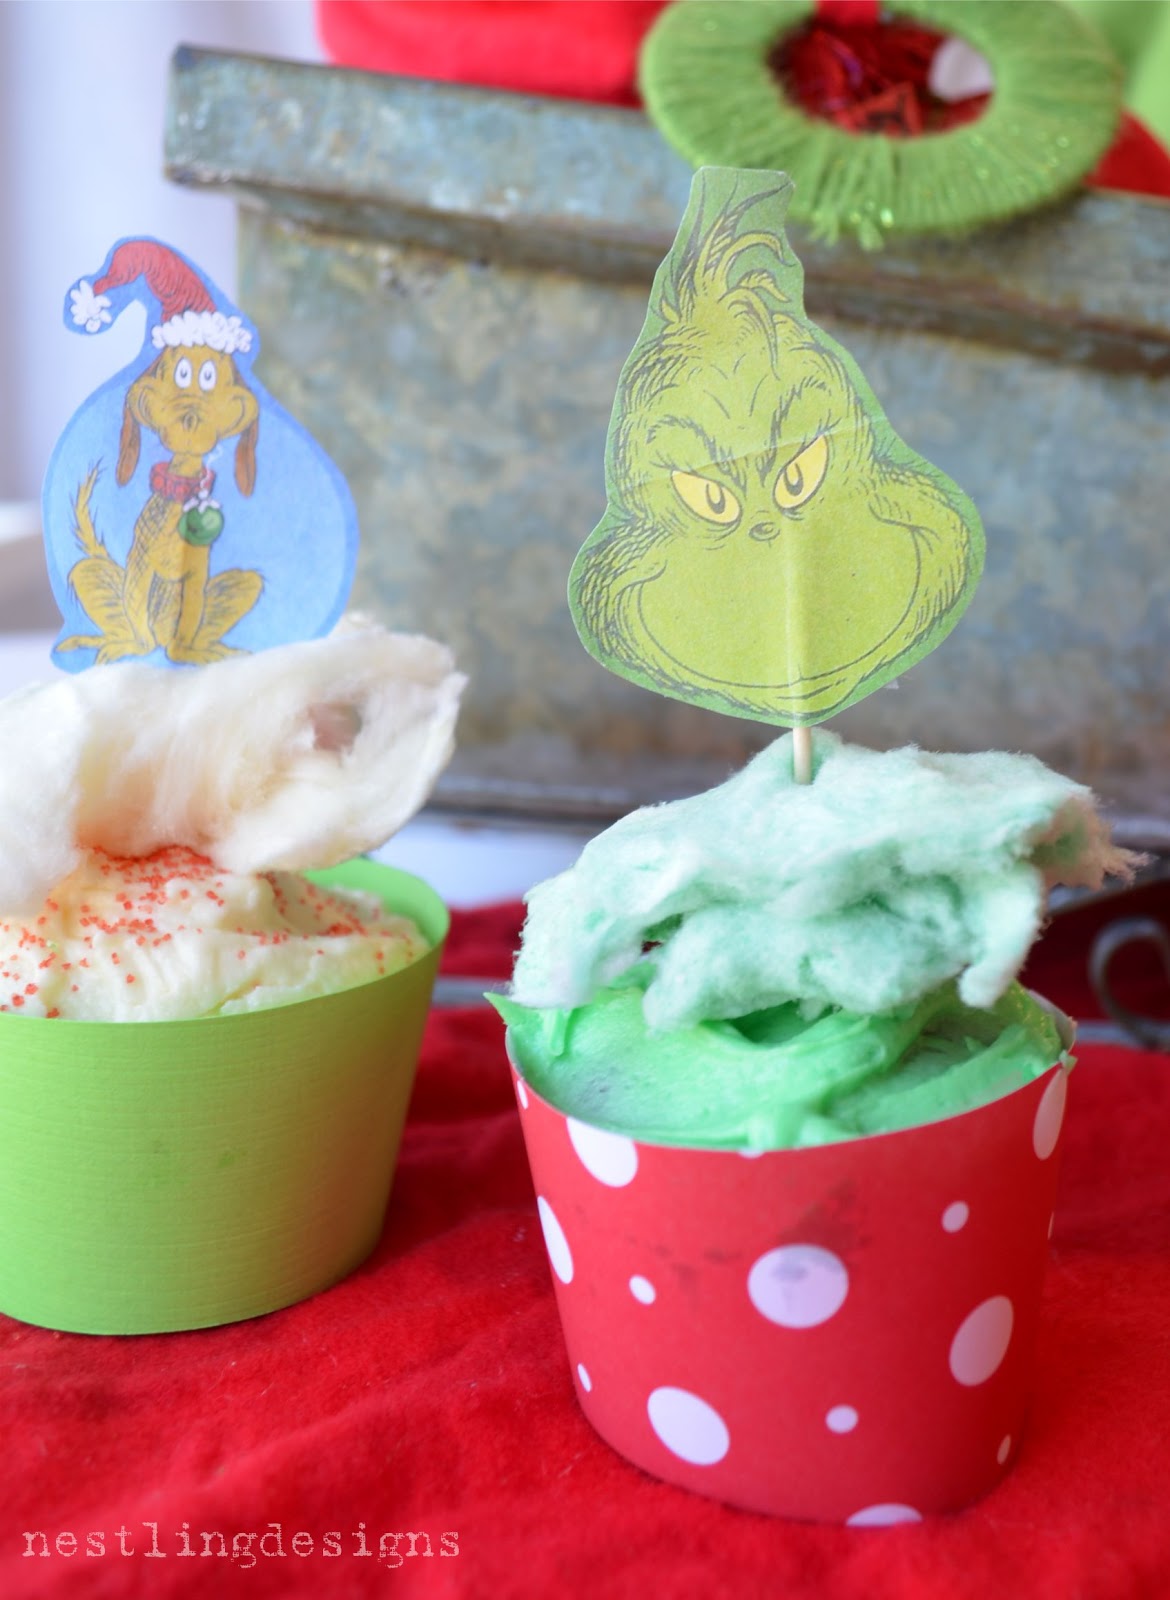
I seriously drove to a gazillion stores trying to find GREEN cotton candy for these cupcakes. It was one of those things that I just absolutely needed for this party ;)


And, of course, who-pudding was served:


I used THIS recipe for the "Grinch" juice that I found on Pinterest. Everyone loved it.
For activities, we did a craft using a picture I took of each child posing with our Grinch mask.

We also played two games.
The first one was "Melt the Grinch's Heart". I took the old baby shower game of "my water broke" {freezing small, plastic babies in ice cubes and whoever melts theirs first wins} and substituted the babies for heart shaped runts inside of green ice cubes.

Each child got one cube in a Ziploc bag (to catch the melted ice) and had to try to melt theirs the quickest by blowing, sitting on it, etc.

The other game we played was Pin-the-heart-on-the-Grinch, originally found on The Cupcake Diaries Blog.

It physically hurts me to see that I didn't take a single photo of the game, {or even of it set up!}, but here's a glimpse of what the Grinch did look like {shown later, just chillaxin on our indoor slide, ha! }

It was a really fun, relaxed party. Once the games were over, the kids basically just ran around and played and all them moms hung out and talked.
Our guests got to take home some good loot in these adorable pails I found for super cheap:

I filled them with candy, including a candy cane with a poem I found online about the Grinch licking all the candy canes and turning them green. We created a small coloring book with a GREEN crayon, and a cookie that I tried to recreate from this amazing one.

They were also given green skittle "Grinch pills" with the note I copied from here.

Honestly, going over all these photos makes me want to host another party :)
I think this would really make an adorable school party theme, too!
xo,
Rachel